A gallery wall is a great way to showcase your personality at home. Whether you have a taste for a particular type of art or want to display some personal snaps, a gallery wall is your canvas upon which you can convey your preferences at a glance. What story do you want to tell your house guests or perhaps reinforce to your family—or yourself? Consider this mural to be the highlight reel of your household.

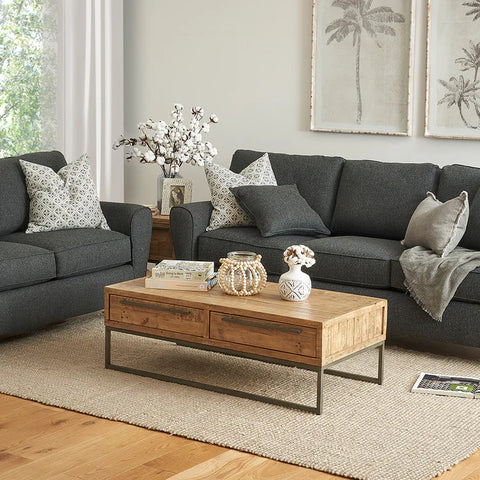
Nature-inspired images are a great way to showcase a love of the outdoors. Check our wall art collection for twin sets!
Alas, there lies just one obstacle, particularly for the less artistically inclined: the challenge of how to create a gallery wall. And although you can just wing it, it helps to approach this exercise with a plan. So, before you get started, why not take in our top five tips and tricks? Here’s how you can get the most out of that daunting blank space.
Before you create your gallery wall, you need to know what you’re working with. Are you working with a larger or a smaller space? Perhaps you’re working with something in between, or perhaps you’re working with something that’s obscured by a lounge chair. Whatever your situation, you’ll need to size it up.
Once you’ve evaluated your space, it’s time to decide what to hang—and what will go where. How will each item interact with its neighbour and contribute to the whole? Will they share similar colours, sizing, or angles? As you create the layout itself, consider how much space you wish to fill. And once you have this decided, you’ll need to measure it—first on the wall, and then on the floor.
Why should you replicate your wall measurements on the floor? It’s actually a great way to allow yourself a ‘first draft’. To place art on the floor first is to freely experiment with space. If you make a mistake, you can rearrange the wall art at zero cost to the wall itself. For the most accurate results, we recommend you use masking tape to keep track of—and make ‘markers’ for—your wall art.
Pro tip: a larger piece of art of a great anchor. If you’re contrasting one larger piece with multiple smaller pieces, always ensure to place the larger piece in the middle, slightly left or right of the centre.
3. Choose your winning pieces
Of course, your artistic selections are as important as their placement. Although you are learning how to create a gallery wall, it’s important to remember that you’re curating your home rather than a professional gallery. You should choose pieces that represent your home life, your values, and your preferences. You should also frame them in a way that looks wonderful to any house guest.
When choosing your wall art, you may want to err towards your favourite style of art or mix things up a bit. Perhaps you want to display some family photos, your favourite record covers, or a sentimental handwritten note. Whatever you decide, ensure the pieces link by a common theme or colour scheme—be it contrasting or matchy-matchy. Remember, your gallery wall is a single art project and every last piece must work together in harmony.
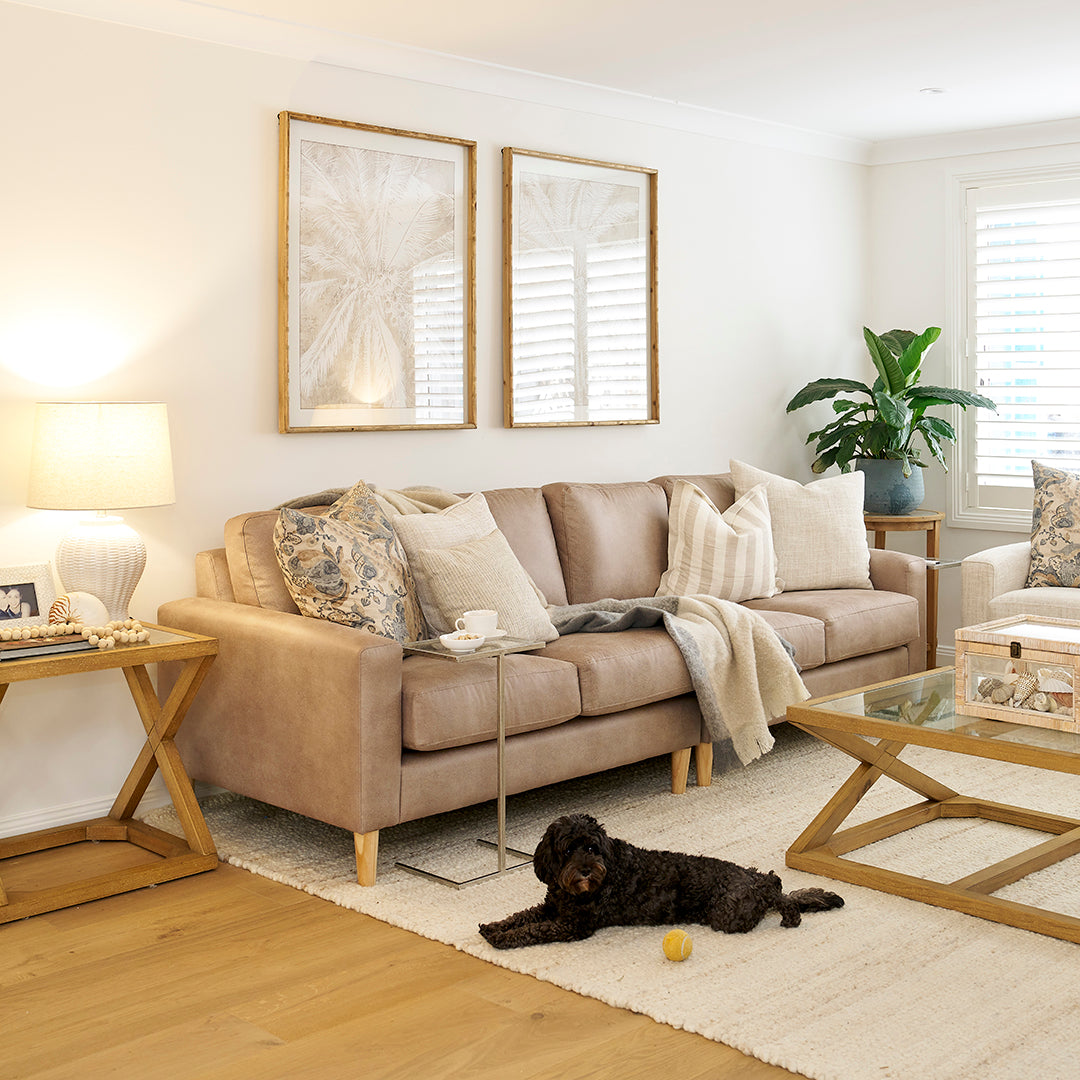
 The wall art isn’t even the focal point of this image, and yet this living room would not look the same without it. Image: 1825 Interiors
4. Have fun with frames
This tip harks back to creating your layout, but it’s a further step to consider. As you’re creating your layout, why not develop a full blueprint? Whilst the ‘solar system’ look—multiple small pieces revolving around a larger piece in a circular fashion—is a wonderful and whimsical way to present your pieces, a grid can ground your arrangement and better keep it in check. If you’re wondering how to create a more traditional gallery wall, a grid could be just the guide you need.
Want a basic example of a grid? Refer back to tip #1, when we recommended dividing your wall into quarters and hanging your art in the third-most quadrant from the floor. Alternatively, you could divide your wall space into four squares and hang a (similarly-sized) painting in each. Whether you choose a simple layout or orchestrate a full blueprint, a grid can keep your wall on the straight and narrow and help unlock symmetry or better alignment.
Curating your own home
Whilst there’s no hard and fast rule to creating a gallery wall, these strategies can certainly help guide you towards your ultimate homely display. For instance, there is an art to choosing your ideal images, and it extends beyond choosing what you like best.
Once you’ve chosen your winning pieces that bring out the best in each other, you’ll want to plan your arrangement before nailing in those final hooks. And there’s more than one way to plan a gallery wall, whether you’re using a grid or a more whimsical layout. Play around with style and space and you’re on your way to unlocking a truly wonderful gallery wall at home.